
TM 5-3655-210-12
(4) Unscrew the nipple (3) from the elbow (2).,
(5) Remove the elbow (2) from the strainer (1).
(6) Unscrew the union nut (4) releasing the 1/3
union and the elbow, and remove the 1/3 union from the
elbow.
(7) Unscrew the elbow and 2/3 union from the
compressor, and remove the union and nipple from the
elbow.
(8) Remove the valve cap (6, fig. 4-95) from
the adapter (7).
(9) Lift the outer gasket, valve, and the inner
gasket from the adapter (7) and discard the gaskets.
Replace the new gaskets.
WARNING
Dry cleaning solvent, P-D-680 or P-S-
661, used to clean parts is potentially
dangerous
to
personnel
and
property. Use in a well-ventilated
area as the fumes are dangerous if
inhaled.
Avoid
repeated
and
prolonged skin contact. Do not use
near open flame or excessive heat.
Flash point of solvent is 100F.-138F.
(38C.-59C.).
c. Cleaning, Inspection and Repair. Wash all the
parts in a cleaning solvent and dry thoroughly with,
compressed air. Inspect the valves to see if they have
been seated properly; if not, replace the valves.
NOTE
Loss of capacity in the cylinder filling
unit is usually due to faulty valve
operation.
d. Suction Valve Installation. Reverse procedures
in a. above.
e Discharge Valve Installation.
Reverse
procedures in b. above.
4-105. Packing Nut Adjustment
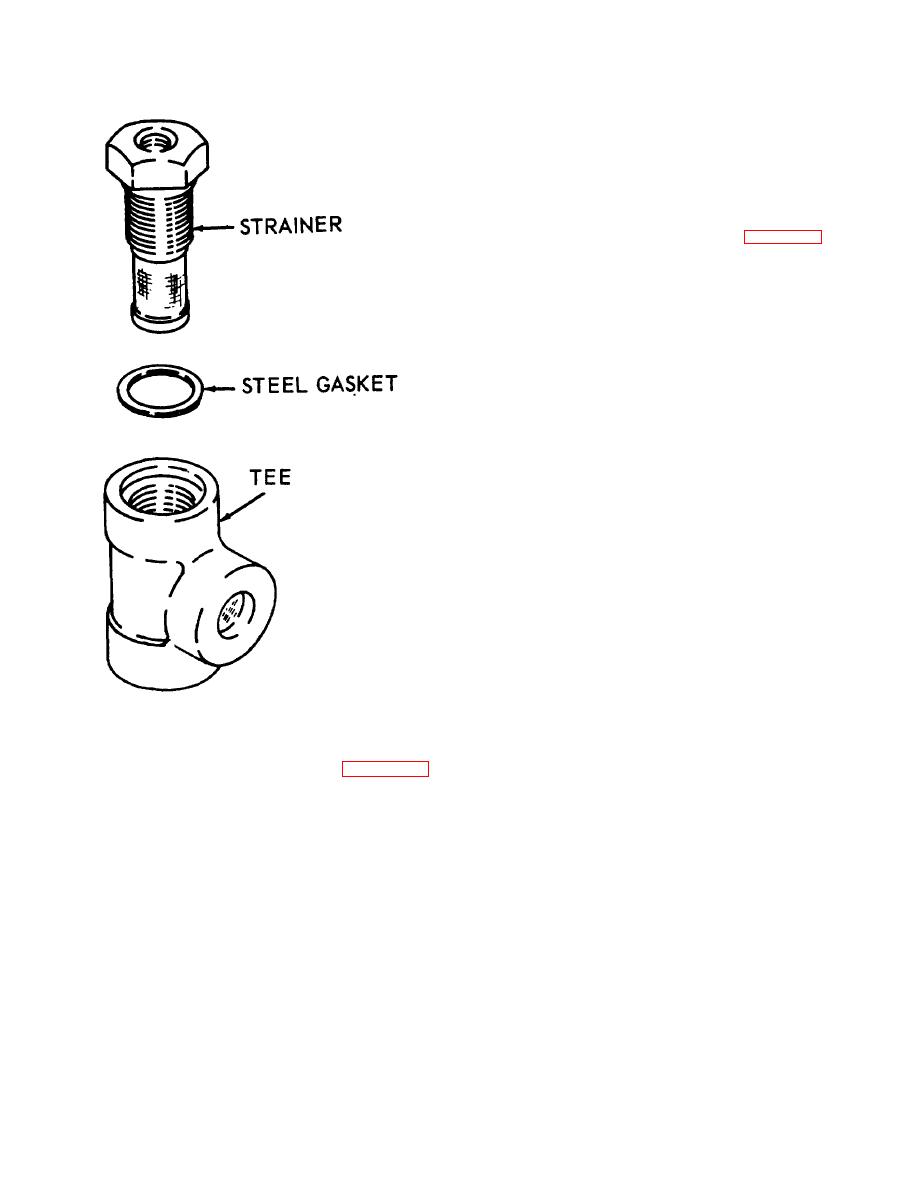
Figure 4-99. Strainer, exploded view.
Leakage past the packing retainer nut (10. fig. 4-
95) is usually shown by excessive spurts of snow past
(2) Unscrew the hose nut (6, fig.
the packing nut. This can be corrected by tightening the
securing the hose (5) to the elbow (2) and remove the
packing nut. It is important that the packing is not too
hose from the valve (30).
tight, as this will cause undue wear. If adjusting the
(3) Remove the rear hose (5) from the cylinder
packing nut does not stop the leak, report the deficiency
filling manifold pipe.
to the proper authority.
4-112
